Your specialised partner in LED vehicle lighting

The short answer
Want to connect the lighting on your trailer correctly? The pin configuration and different types of connections, such as the 7-PIN and 13-PIN connectors, are particularly important here. We’ll show you exactly how this works using the trailer wiring diagram.
As well as ensuring correct connection, it is also important to choose the right lighting components. These include rear lights, marker lights, licence plate lights and side marker lights that are suitable for the type of trailer and its intended use. In our overview of LED trailer lighting, you will find more information about the various components and solutions for professional trailer applications.
In this article you will find:
The illustration below shows the 7-PIN connector wiring diagram. This illustration shows all seven different functions.
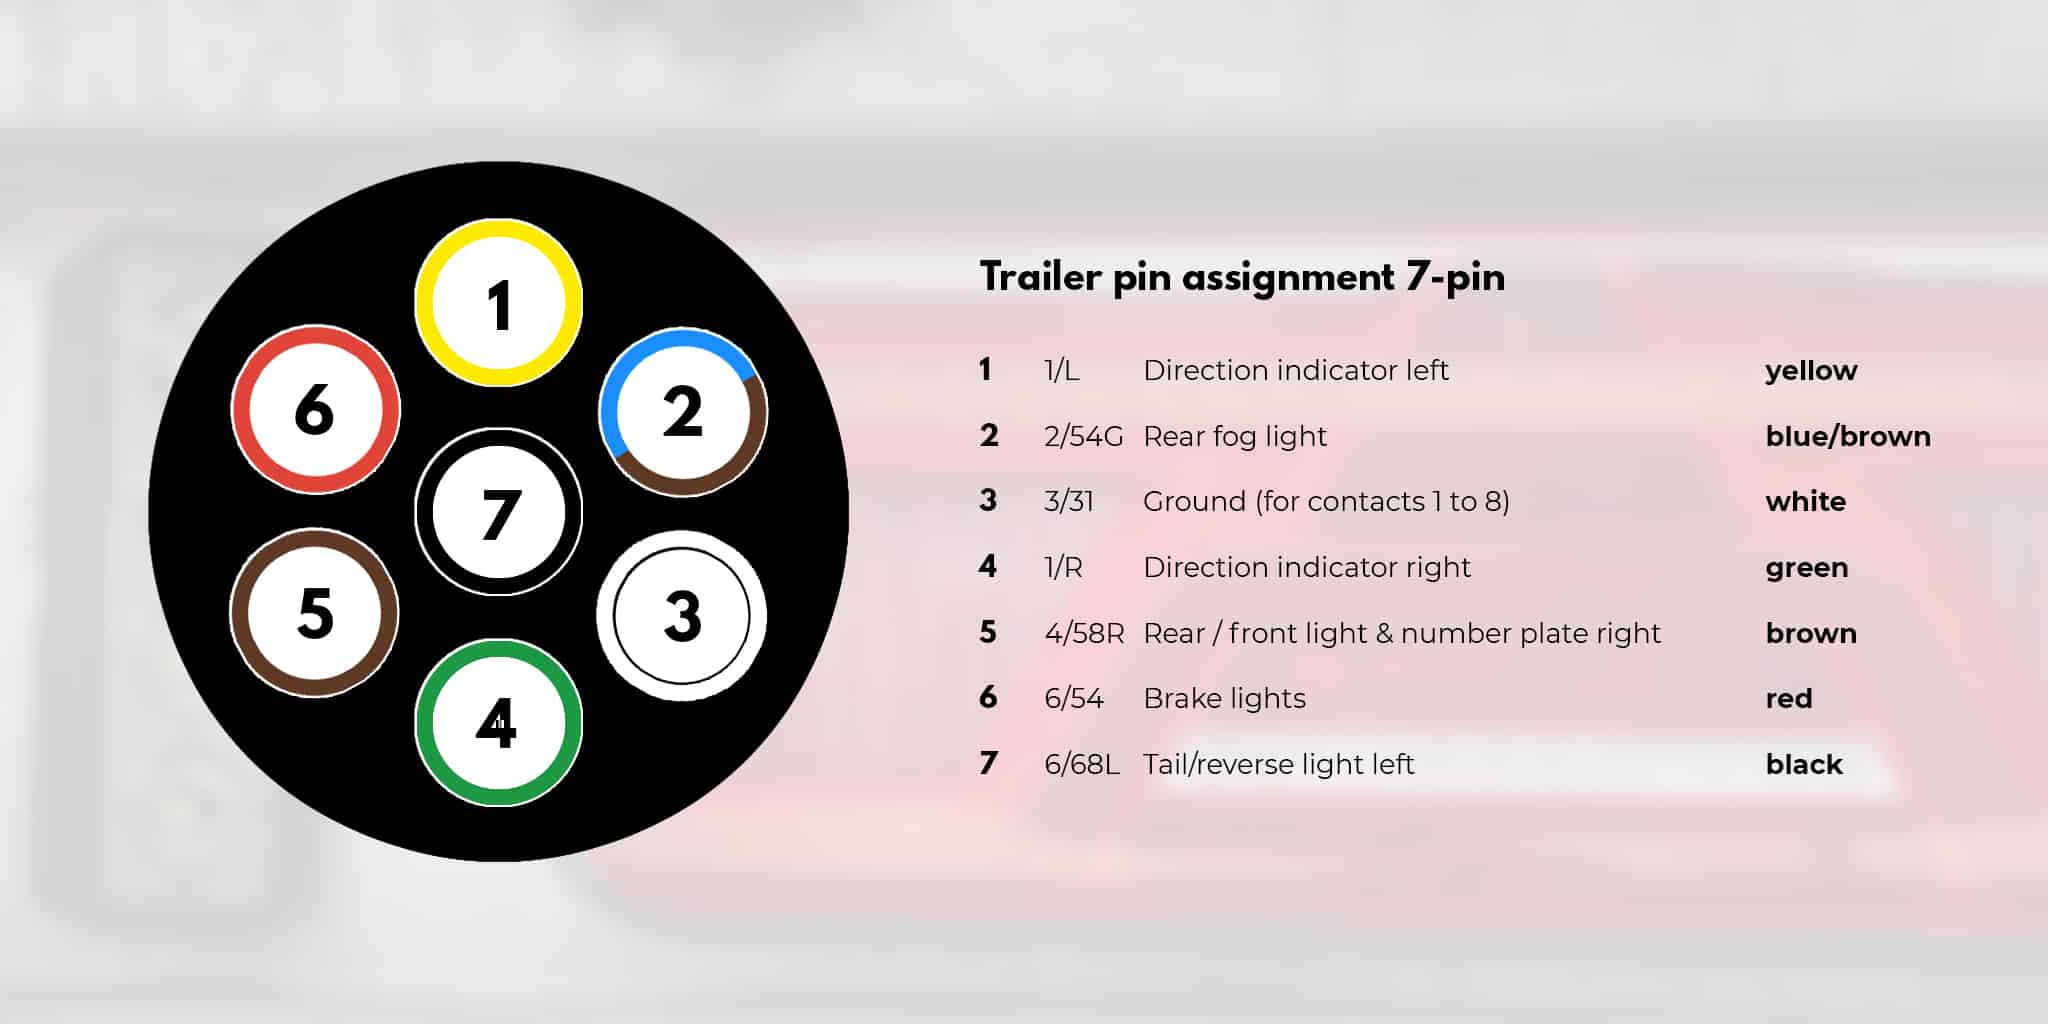
Wiring diagram for trailer lighting: 7-PIN universal 12-volt connector/junction box.
As the name partly suggests, the 7-PIN connector consists of seven different connections. In the image below, these connections are indicated by different colours. Using these colours, in combination with the information below, you can easily connect the trailer’s lighting.
TRALERT® has been a specialist in LED lighting for trailers since 2005. From modern rear lights and marker lights to complete, easy-to-fit plug-&-play sets.
In the trailer lighting market, there are three types of wiring diagrams: the scheme for the 7-PIN connector, the 13-PIN Jaeger plug and the 13-PIN Multicon plug. Before we go any further, it is important to briefly explain the difference between the 7-PIN plug and the 13-PIN junction box.
A 7-PIN connector is intended for the basic lighting of a trailer. A 13-PIN connector also provides additional connections for functions such as reversing lights and an extra power supply. Which connector is required depends mainly on the functions fitted to the trailer and not directly on its size or weight.
The plug configuration required also depends on the lighting that is mandatory or recommended for the trailer. A 7-PIN connection is often sufficient for basic lighting, whilst a 13-PIN connection supports additional functions such as reversing lights. Would you like to know first which light functions are mandatory on a trailer? Then do read our article on the rules for trailer lighting.
The 7-PIN connector variant is suitable for less complex towed items, such as a bike rack, trailer, boat trailer or horse trailer. Using the 7-PIN connector, you can connect the basic lighting on your towed item. This includes basic lighting within the LED rear light category (fog lights, indicators and brake lights). Although the 13-PIN junction box is more comprehensive, the 7-PIN connector still fully complies with the relevant standards.
This connector variant can be seen as the ‘big brother’ of the 7-PIN connector. The 13-PIN connector is designed for more complex towed vehicles. Examples include caravans, advanced trailers, large boat trailers or large horse trailers. Just like the 7-PIN connector variant, this connector is also connected to your car. You can connect the connector to the trailer by inserting it into the socket beneath the tow bar.
The additional pins on a 13-PIN connector are used, amongst other things, for reversing lights, constant power supply and switched power with mass. This makes a 13-PIN connection suitable for trailers with additional lighting functions or extra electrical equipment. Where these functions are required, a 13-PIN connector is often the most logical choice in practice.
| Characteristic | 7-PIN | 13-PIN |
|---|---|---|
| FeatureApplication | 7-pin: Lighttrailers and luggage trolleys without additional electrical loads | 13-pin Caravans, motorhomes and trailers with additional electrical loads |
| Featuresand Basic Functions | 7-pin: Indicators, brake lights, position lights and rear fog lights, mass | 13-pinIdentical |
| Featuresand extra functions | 7-pinNone | 13-pin Reversing light, continuous power supply (terminal 30), switched power supply (terminal 15), separate masses |
| SpecificationStandard | 7-pinISO 1724 | 13-pinISO 11446 |
Choose the 7-PIN option for standard trailer lighting. Choose the 13-PIN option if the trailer has additional features, such as a reverse light or a continuous power supply for a caravan.
For the 13-PIN trailer connector scheme, see the image below. This image describes all thirteen functions of the Jaeger plug. Using this trailer wiring diagram, you can connect the lighting on the trailer.
Wiring diagram for trailer lighting: 13-PIN universal 12-volt connector/junction box.
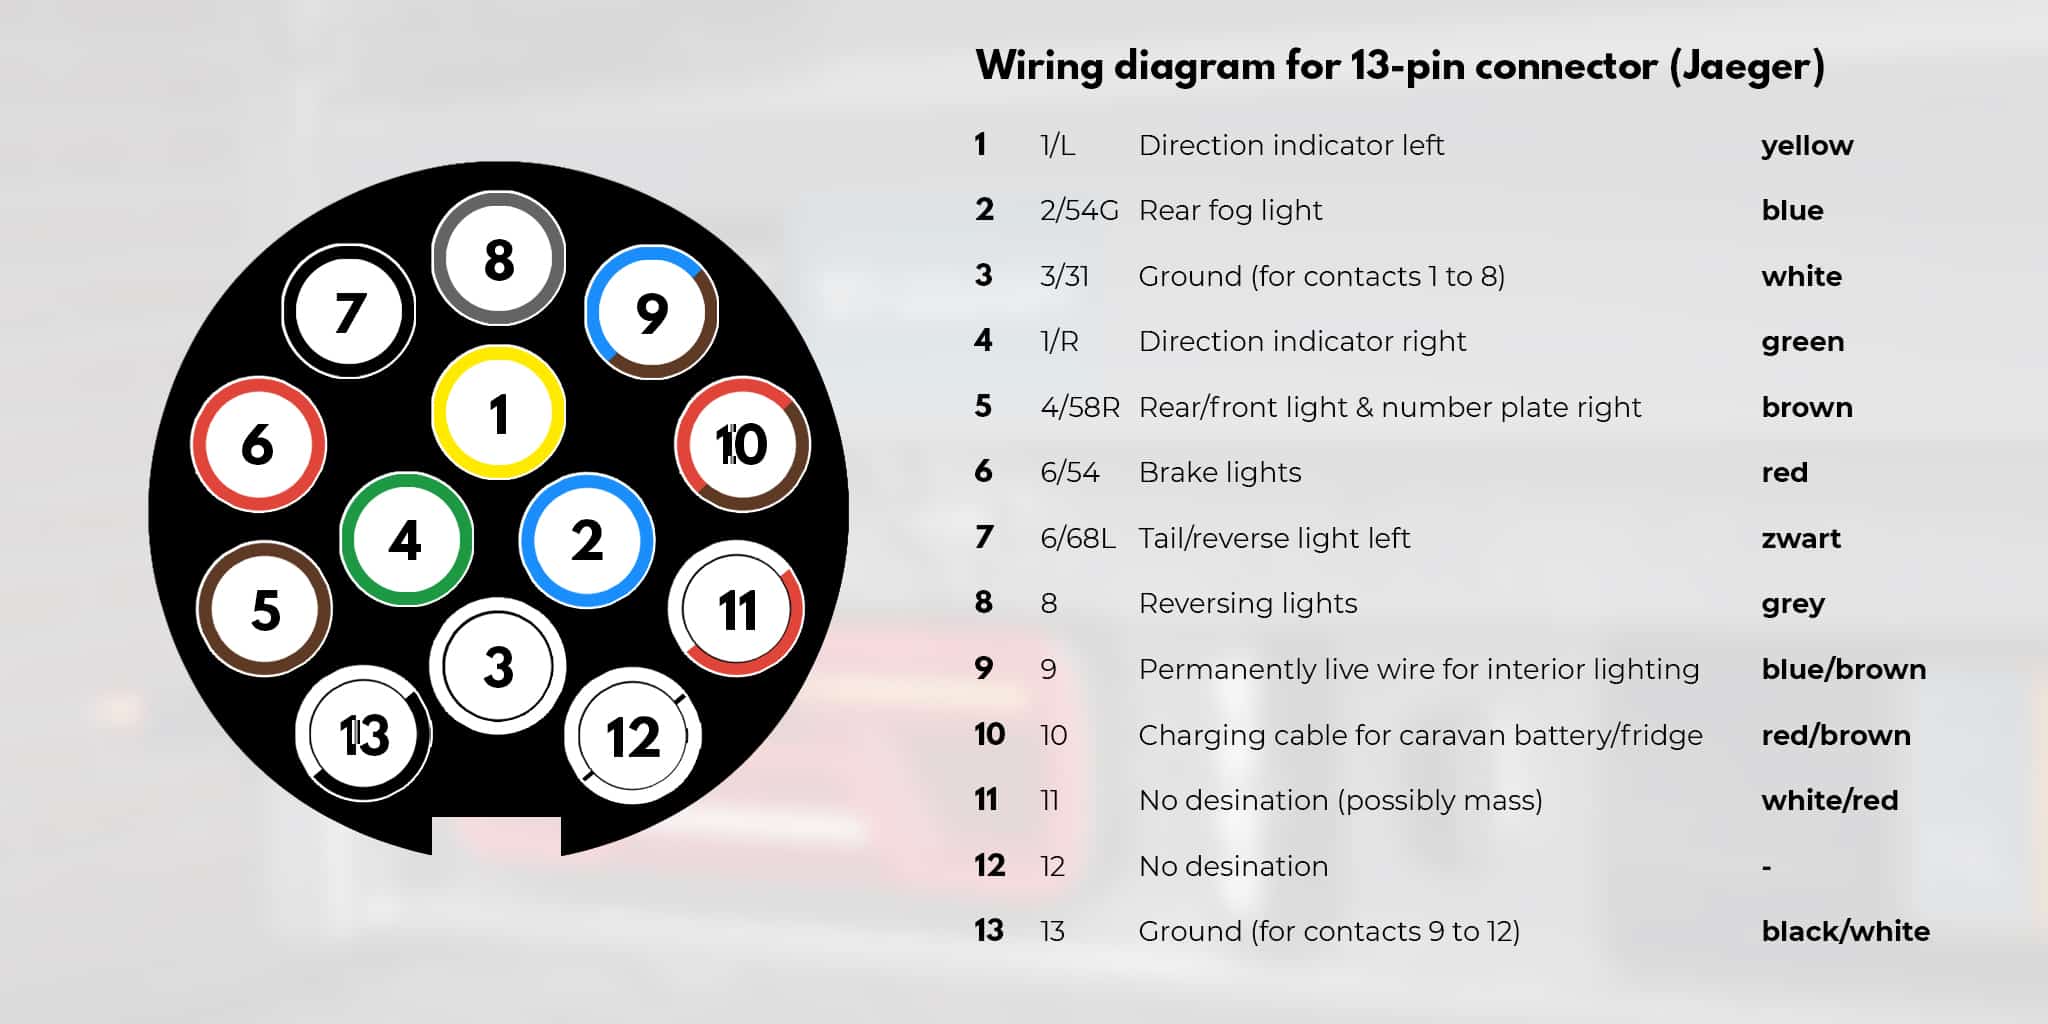
Connecting a 13-PIN connector is very straightforward using the wiring diagram above. As shown in the image, this junction box consists of thirteen different connections. Just as above, we will also explain the various connectors on the 13-pin junction box below. For the visual learner, we have also included an illustration to provide a complete overview at a glance. Using this scheme, you can connect the lighting on the trailer correctly.
The image below illustrates all thirteen functions of the Multicon West connector. Using this scheme, you can connect the trailer’s lighting correctly.
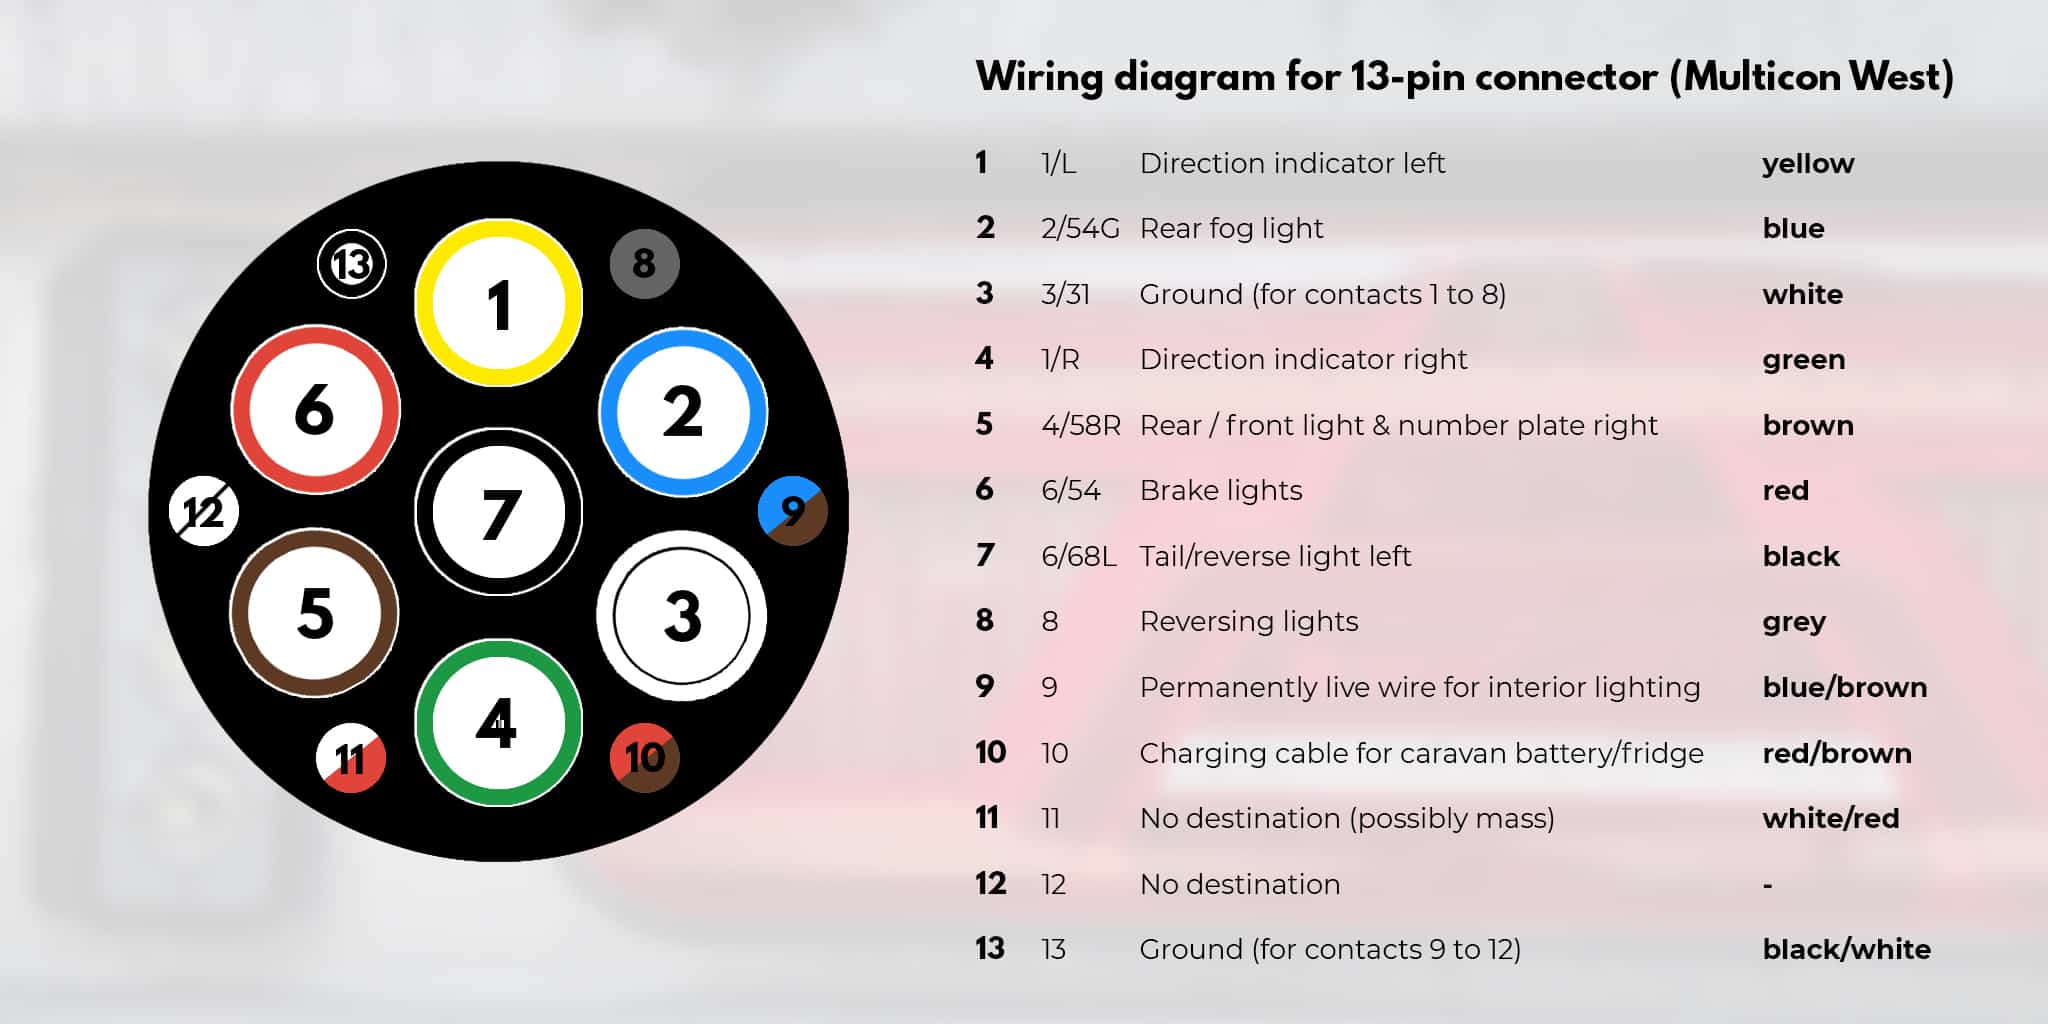
Within the 13-PIN connectors, there are two different systems, namely the Jaeger and Multicon West system. When connecting a 13-PIN connector, it is good to know that the two plugs have different poles. For this reason, we briefly light both connectors below.
The new 'standard' plug is the Jaeger plug. This connector has a bayonet connection. This ensures that the connector is firmly attached to the junction box and will not vibrate loose while driving. The bayonet connection is a valued connection, as it significantly reduces interference while driving.
Connecting the 13-pole Jaeger plug is very easy. Insert the Jaeger plug into the junction box at a 90-degree angle to the left. In this situation, the mounting block protrudes downwards. When it is in the junction box, turn the connector a quarter turn clockwise. Then turn it into the junction box and the bayonet connection is fixed. If you want to connect the Jaeger plug with 13 poles to a 7-PIN connector, this is possible with an adapter.
In addition to the ‘standard’ 13-PIN connector, there is also another model, known as the Multicon West connector. This connector fits into both the 7-PIN and 13-PIN junction boxes. This makes the Multicon system suitable for use as both a 7-PIN and a 13-PIN solution. This Multicon connector can be useful if your trailer still uses an old 7-PIN connector.
It is worth noting, however, that the Multicon connector does not fit into a Jaeger junction box, nor does the Jaeger plug fit into a Multicon West junction box. When we look at the use of both types of connector, it is noticeable that Jaeger connectors are used more frequently than Multicon West connectors. The Multicon West system, on the other hand, is more commonly found in caravans.
Most vehicles nowadays feature a 13-PIN junction box, whilst most trailers and bike racks usually have a 7-PIN connector. To ensure these can be connected seamlessly, you can use an adapter plug. Adapter plugs come in various types. Below, we briefly explain the different adapter plugs in our range.
The adapter that converts a 13-PIN connector to a 7-PIN connector functions opposite to the situation described above. If your vehicle is equipped with a 13-PIN connection, this adapter allows you to connect a 13-PIN connector. However, it is important to realise that in this case, only the functionalities associated with a 7-PIN connection will be active.
The 7-pin to 13-pin adapter allows you to connect almost any electronic product to your vehicle's connector. If, for example, you have a 13-PIN caravan connection but a 7-PIN junction box, you can convert it with the adapter. In short, the sales adapter from 7-pin to 13-pin connector is meant to allow you to use a 13-pin connector, when your car is only equipped with a 7-PIN connector.
You can find the relevant product on our dealer portal via the following link: 7-PIN to 13-PIN adapter.
At TRALERT® we regularly receive questions about the 7-PIN and 13-PIN junction boxes. Below we have therefore listed these frequently asked questions for you.
A 7-PIN connector provides only the basic lighting, such as indicators and brake lights. A 7-PIN connector is, for example, perfectly suited for bike racks or small trailers.
The additional pins on a 13-pin connector are used when, in addition to the basic lighting, you also use, for example, reversing lights and rear fog lights. These two features have been mandatory on trailers, caravans, boat trailers and/or horse trailers since 10 July 2011. Since 2011, these vehicles have therefore been fitted as standard with a 13-pin junction box.
The 13-PIN connector variant has two types, namely the Jaeger and the Multicon West plug. These are used for different purposes. Of the two, the Jaeger junction box is the most common. Although the Multicon West is most often used with caravans.
If your question isn’t listed above and you’re looking for a suitable answer, read our comprehensive article to find out everything about trailer lighting.
Want to know about the regulations? Then read our article on the rules for trailer lighting. If you’d also like to know more about the international mounting and installation regulations for vehicle lighting, our explanation of ECE R48 provides further background.
If you’re looking for lighting for your trailer, we recommend this complete set from TRALERT®. The set includes 12V trailer rear lights, marker lights, licence plate lights and side marker lights, ensuring you can not only travel safely but also in style thanks to our carefully selected range.
Better Light Work Safer!
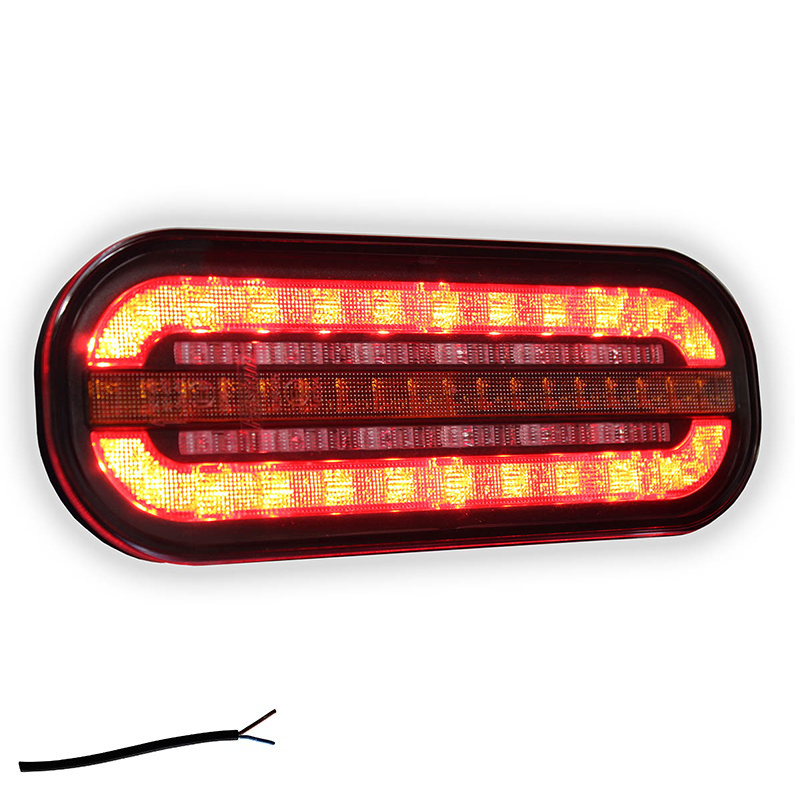
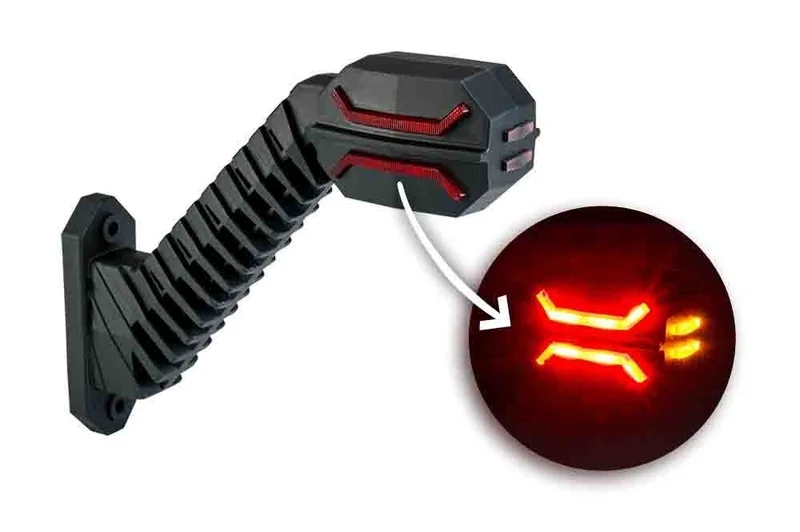
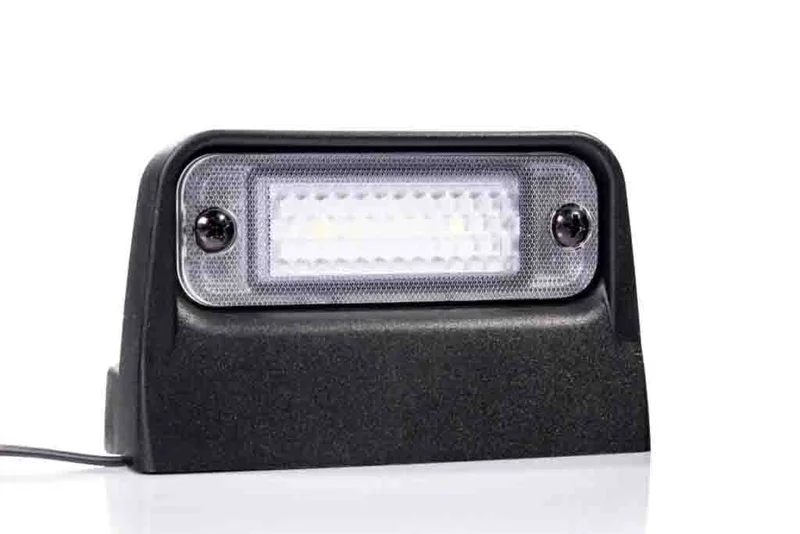
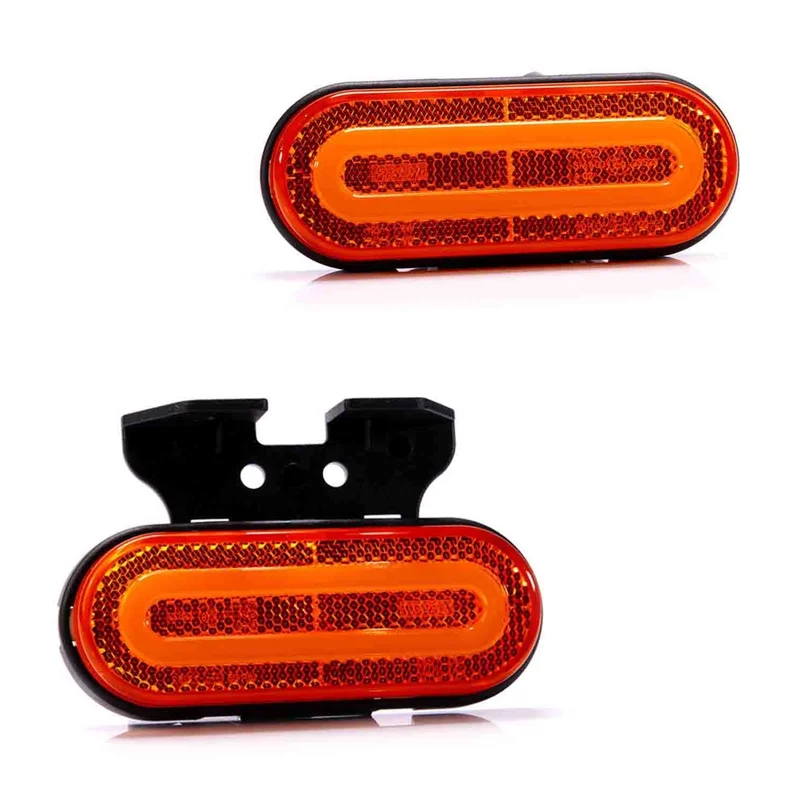


A selection of LED lighting for trucks and trailers.

A comprehensive overview of our LED vehicle lighting and accessories.

Plug-&-play lighting kits, cabling and lighting for bodybuilders.

What TRALERT® can do for you as a partner in LED vehicle lighting.
Plug-&-play kits, cabling and lighting for 24V semi-trailers.

A selection of high-quality LED driving lights and LED bars.
Lighting, wiring harnesses and accessories for trailers.
The TRALERT® DARK LED range.

Work lights, rear lights, driving lights, beacor bars and more for DAF Trucks.

Work lights, rear lights, driving lights, beacor bars and more for Ford Trucks.

Work lights, rear lights, driving lights, beacon bars and more for Iveco.

Work lights, rear lights, driving lights, beacon bars and more for MAN.

Work lights, rear lights, driving lights, beacon bars and more for Mercedes-Benz Trucks.
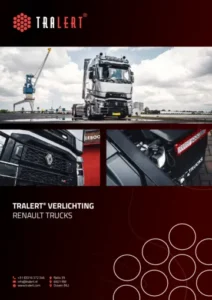
Work lights, rear lights, driving lights, beacor bars and more for Renault Trucks.
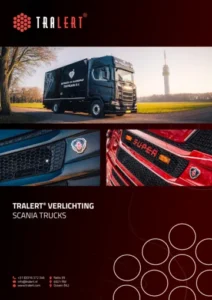
Work lights, rear lights, driving lights, beacor bars and more for Scania.

Work lights, rear lights, driving lights, beacon bars and more for Volvo Trucks.
The catalogue opens in a new tab. Can’t see it?
Open the catalogue (PDF)Two questions, in 30 seconds.
TRALERT® works with a dealer network. Dealers can view current stock levels, place orders online on account and receive a product feed for their online shop or system. We assess each enquiry internally and will let you know within 1 to 2 working days whether a partnership is possible.
You can purchase TRALERT® lighting through our partners, either locally or online. Simply provide your details, and we’ll find the partner best suited to help you.
Would you prefer to find a stockist yourself?We will assess your enquiry internally. You will hear from us within 1 to 2 working days to let you know whether a partnership is possible.
We’ll let you know within 1 to 2 working days which partner will be able to assist you further.
TRALERT® operates through a dealer network. Prices, stock levels and online ordering are therefore only available to business customers with an account.
We assess every enquiry internally and will let you know within 1 to 2 working days whether a partnership is possible.
For your own use?Find a stockist
Would you prefer a quote first?Add this product to your quotation request and send it off when you’re ready.