Specialised partner in LED vehicle lighting

The short answer
Are the lights on your truck or semi-trailer not working, does a light function occasionally fail, or does an error message appear on the dashboard? Start with the symptom: which functions are affected and when does the fault occur? Then check the visible cabling and connections. Have the workshop check the power supply, mass and control circuits before replacing an LED unit. After all, a light that isn’t lighting up isn’t necessarily faulty itself.
This guide focuses on professional 24V lighting systems for trucks and semi-trailers. You’ll find out what you, as a driver, can check, how the workshop identifies the cause, and how you can help prevent recurring problems.
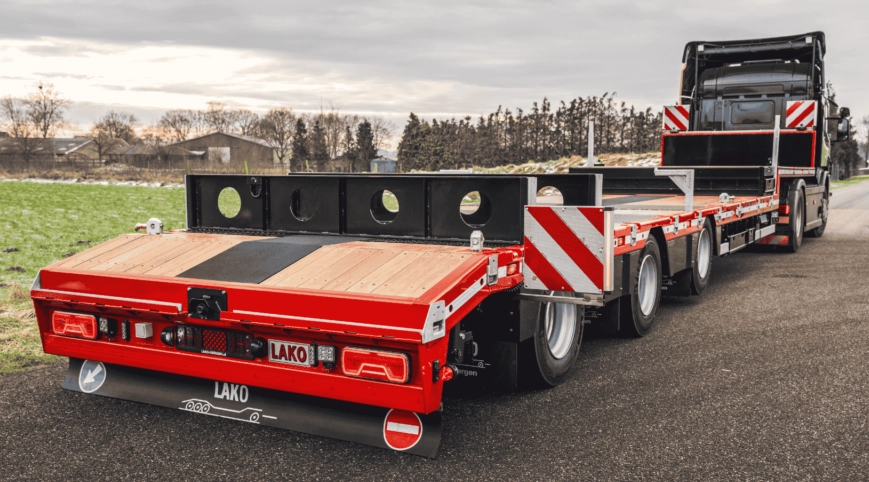
The symptoms listed below help to focus the investigation. The causes are points to check; they are not a ranking of the most common faults.
| Symptom | Possible cause | Targeted inspection |
|---|---|---|
| Symptom: One light or light function is not working | Possible cause:Faulty light source or LED unit, localised connector, cable break or missing control signal. | Targeted checks: Checkthe connection and have the power supply, return connection and control circuit at the light examined. |
| Symptom: Severalsemi-trailer lights fail simultaneously | Possible cause: A fault in a shared power supply, earth connection, connection cable or connector between the tractor and the semi-trailer. | Targeted inspection: Checkthe coupling and determine in the workshop whether the fault lies with the tractor, the connection cable or the semi-trailer. |
| Symptom: Lights flicker or fail when the vehicle is in motion | Possible causes: Loose connection, cable break, poor mass connection or a control unit fault. | Targeted checks: Notewhen the fault occurs. Inspect the mounting, cable routing and connectors. |
| Symptom: The interference occurs after rain or washing | Possible cause: Moisture ingress via a damaged housing, seal, connector or cable entry. | Targeted inspection: Checkfor persistent moisture, water build-up and corrosion. Also rectify the cause of the water ingress. |
| Symptom: Dashboard warning light illuminated whilst the lights are on | Possible cause: Lamp monitoring that is not suited to the LED load; a temporary or partial failure is also possible. | Targeted inspection: Check all light functions and have compatibility with the vehicle assessed. |
| Symptom: A fuse keeps blowing | Possible cause: Possible short circuit, overload or a faulty component. | Targeted inspection: Have the circuit checked; do not keep replacing the fuse without rectifying the root cause. |
Check the lighting in a safe location, in accordance with your company’s driver instructions. Check the actual light functions; the absence of a dashboard warning alone is not sufficient.
A report such as “left indicator fails after coupling” gives the workshop a more useful starting point than simply “lighting fault”. In the case of intermittent interference, also note whether rain, washing or movement plays a role.
A lighting system consists of more than just the LED unit. The power supply, return circuit, connectors and control system must all function in unison. Corrosion or a loose connection can disrupt the flow of current. Abrasion or pinched cabling can cause an open circuit or a short circuit. The light itself or the integrated electronics may also fail.
If multiple functions have failed, first check which connections they share. If only one function has failed, a targeted check of that individual circuit is the obvious course of action. Use the scheme for the relevant tractor and semi-trailer. The 15-PIN ISO 12098 connection, used for lighting and other functions, is a different connection to the separate ABS/EBS connection. Therefore, do not treat a braking system warning as a lighting warning.
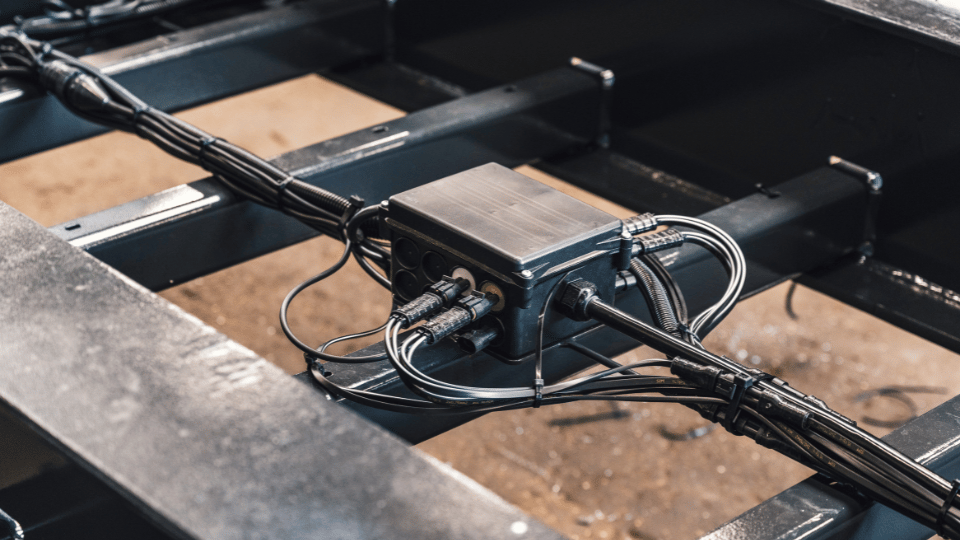
First, check which functions have failed and whether the fault can be reproduced. Inspect connections, contact pins, locks, seals and cable insulation. Also look out for signs of heat, chafing and pinching. Check the specified fuses and any fault codes in accordance with the vehicle documentation.
Examine the tractor unit, connection cable and semi-trailer as separate parts of the same system. Use a suitable scheme and truck equipment to determine where a light signal or power supply is missing. A tester must be compatible with the 24V system and the electronics in place.
Carry out measurements in accordance with the manufacturer’s procedure whilst the relevant light function is under load. Simply measuring voltage at an unloaded connector may fail to detect a poor connection. Check both the supply side and the return connection: voltage loss can occur on either side. HELLA highlights the importance of this earth check in the event of interference.
There is no single universal resistance limit or cable cross-section that is suitable for every 24V lighting system. Evaluate measurement values based on the circuit, the load and the manufacturer’s specifications. Only carry out resistance measurements on a de-energised circuit that has been properly insulated in accordance with regulations.
If the power supply and return are in order, check the light unit and the control signal. Take into account vehicle-specific diagnostic pulses or modulated signals: the light must be suitable for these. Only replace parts once the fault has been sufficiently pinpointed. If a fuse blows again, identify the underlying fault; do not simply fit a higher-rated fuse as a solution.
After the repair, check all relevant light functions on the connected combination. If changes have been made to the lamp monitoring system, also check whether actual lamp failures are still being detected. Record the identified cause, the repair carried out and the final inspection for the next service.
LED lighting generally consumes less power than a comparable incandescent light. A monitoring system expecting a different load may therefore report a fault whilst the light is on. This does not automatically mean that the CAN network is faulty. First rule out temporary faults, a missing individual light function and connection issues.
Any adjustment to the vehicle configuration, suitable module or other solution must be tailored to the vehicle and its lighting system. A random resistance is not a universal solution and may mask genuine faults. Read more about lamp monitoring and CAN-bus interference in LED lighting.

In the event of interference following rain or washing, seals, cable glands and connectors require extra attention. Simply replacing a faulty light is insufficient if water can re-enter via the same damaged connection. Also inspect the surrounding cables and connections.
Temporary condensation does not necessarily indicate a leak in every light. In ventilated lights, misting may be due to temperature differences. Persistent moisture or accumulated water requires investigation. Do not automatically apply this explanation to fully sealed LED units; follow the product documentation. See also HELLA’s technical explanation regarding condensation.
A dashboard warning, a failed light function and a formal driving ban are different situations. In the event of a fault, have the combination assessed to determine whether it can be used safely and in accordance with the applicable regulations. A company may delay departure to allow for repairs without a regulatory authority having imposed a driving ban.
Factors to consider during assessment include the faulty light function, the vehicle’s visibility and the driving conditions. Establish who within your organisation is responsible for deciding on repairs and clearance. If a light is lit and displaying an error message, do not assume the message is harmless without first checking it.
Legal requirements and any measures to be taken during a vehicle inspection or roadside check vary from country to country. You should therefore check the regulations applicable to the vehicle and the route. A technical inspection by a workshop will help to identify the cause; permission to continue your journey also depends on the applicable rules and any restrictions that may have been imposed.
Are you working on a new installation or a retrofit? Then read the practical tips for connecting 24V trailer lighting. For guidance on the repair process, please refer to the section on damage and repairs to trailer lighting.
The necessary approvals and correct mounting remain important when replacing lighting. ECE R10 concerns electromagnetic compatibility. This approval is not proof that a light is compatible with every shape of light monitoring system or that the entire installation is free from interference. You should therefore also check the voltage, light function, connection, control system and fitting instructions.
TRALERT® supports vehicle manufacturers, workshops and business partners in selecting and configuring LED lighting, cabling and connections. A complete lighting package helps to bring together the right components in advance. The final performance remains dependent on the application, mounting and integration with the vehicle.

View TRALERT®’s lighting sets or discuss your application with our technical specialists. Please provide the vehicle type, the existing lighting, the connection details and a description of the interference. Discover the opportunities to become a TRALERT® partner.

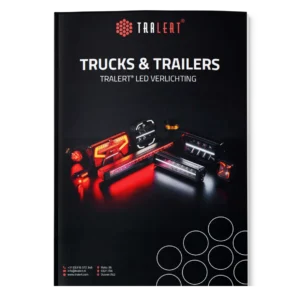
A selection of LED lighting for trucks and trailers.
A comprehensive overview of our LED vehicle lighting and accessories.
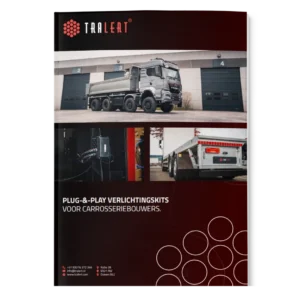
Plug-&-play lighting kits, cabling and lighting for bodybuilders.
What TRALERT® can do for you as a partner in LED vehicle lighting.
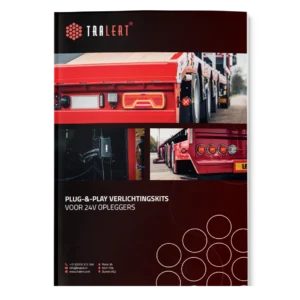
Plug-&-play kits, cabling and lighting for 24V semi-trailers.
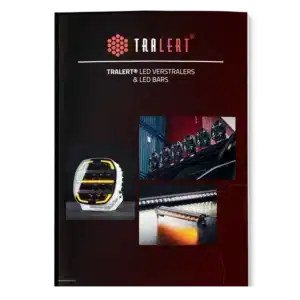
A selection of high-quality LED driving lights and LED bars.
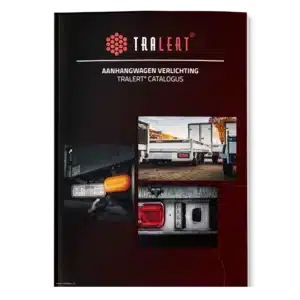
Lighting, wiring harnesses and accessories for trailers.
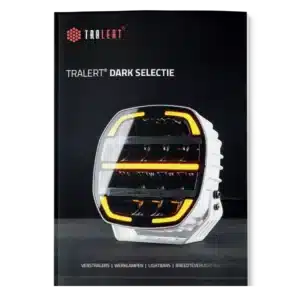
The TRALERT® DARK LED range.
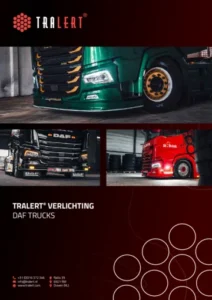
Work lights, rear lights, driving lights, beacor bars and more for DAF Trucks.
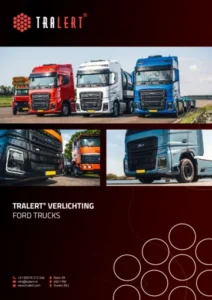
Work lights, rear lights, driving lights, beacor bars and more for Ford Trucks.
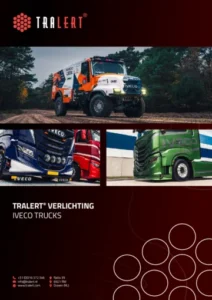
Work lights, rear lights, driving lights, beacon bars and more for Iveco.
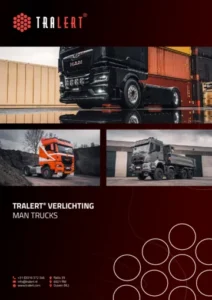
Work lights, rear lights, driving lights, beacon bars and more for MAN.
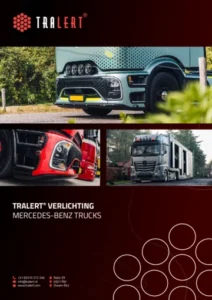
Work lights, rear lights, driving lights, beacon bars and more for Mercedes-Benz Trucks.
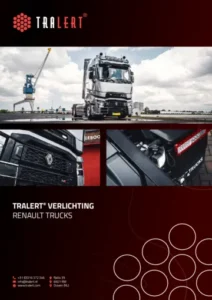
Work lights, rear lights, driving lights, beacor bars and more for Renault Trucks.
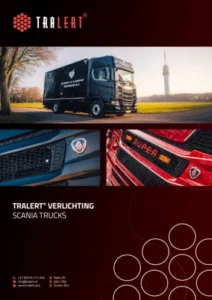
Work lights, rear lights, driving lights, beacor bars and more for Scania.
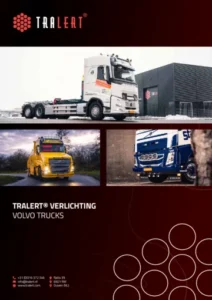
Work lights, rear lights, driving lights, beacon bars and more for Volvo Trucks.
The catalogue opens in a new tab. Can’t see it?
Open the catalogue (PDF)Two questions, in 30 seconds.
TRALERT® works with a dealer network. Dealers can view current stock levels, place orders online on account and receive a product feed for their online shop or system. We assess each enquiry internally and will let you know within 1 to 2 working days whether a partnership is possible.
You can purchase TRALERT® lighting through our partners, either locally or online. Simply provide your details, and we’ll find the partner best suited to help you.
Would you prefer to find a stockist yourself?We will assess your enquiry internally. You will hear from us within 1 to 2 working days to let you know whether a partnership is possible.
We’ll let you know within 1 to 2 working days which partner will be able to assist you further.
Trailerkit Configurator
No more stripping and soldering cables
With our Trailer Kit Configurator, you can put together a plug-&-play wiring harness zone by zone. All lighting connects directly to it. You will receive everything as a single set, complete with an installation diagram and fitting instructions.